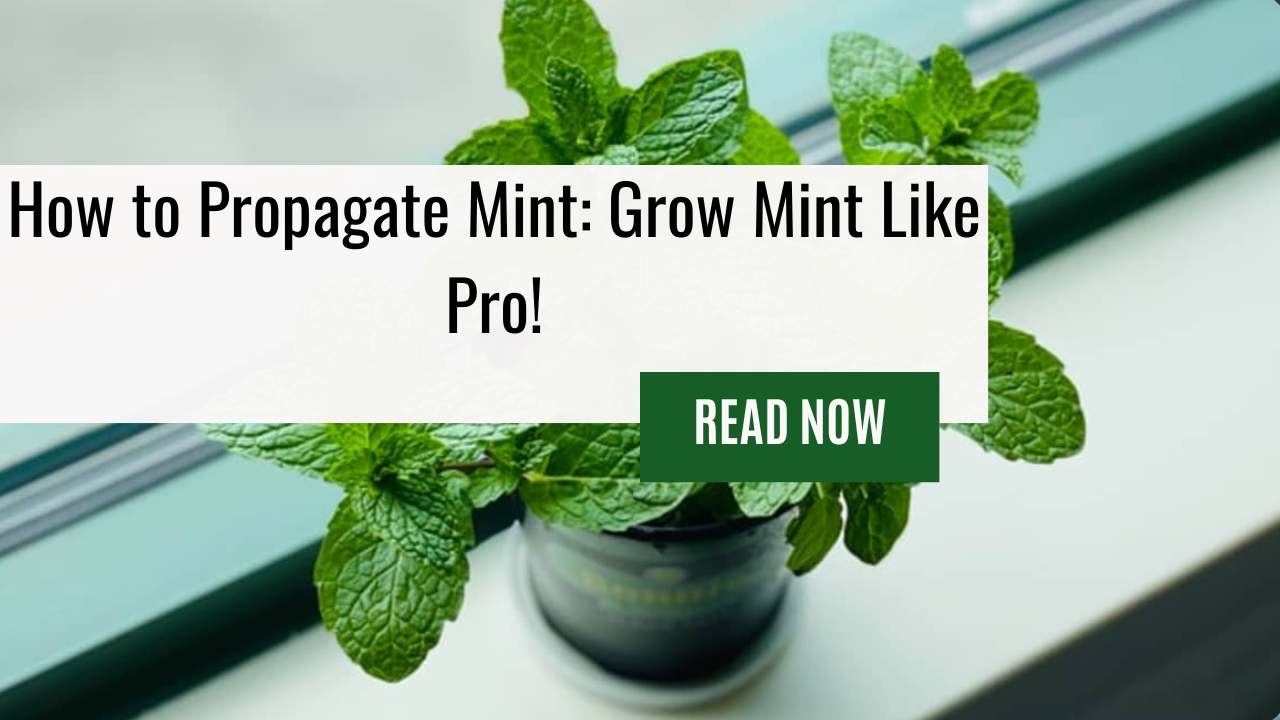
Mint is a versatile herb that can be used in various recipes, from teas to cocktails. It’s no wonder why many gardeners want to have it growing in their backyard or kitchen garden.
While buying mint plants from a local nursery may seem like the easiest option, propagating your own mint plant can be just as simple and rewarding.
In this article, we’ll cover everything you need to know about how to propagate mint successfully.
From identifying which type of mint you have to select the right potting mix and caring for your new plant, we’ve got you covered.
With these tips and tricks, you’ll soon be able to grow an abundant supply of fresh mint at home and impress your friends with your culinary skills!
The Benefits Of Propagating Mint – Growing Mint from Cuttings!
If you’re a fan of fresh and fragrant mint, then propagating your own plants from cuttings is an easy and affordable way to grow more.
Not only does it save money on buying new plants every year, but it also allows you to have control over the quality and quantity of mint in your garden or home.
Whether you’re a seasoned gardener or just starting out with houseplants, learning how to propagate mint can be both fun and rewarding.
One of the benefits of propagating mint is that it’s a relatively simple process that doesn’t require much equipment or expertise.
With just a few tips for propagating mint, anyone can successfully grow their own plants from cuttings.
Plus, since mint is known for its hardiness and ability to thrive in various conditions, even beginners can feel confident in their ability to propagate this versatile herb.
So why not give it a try?
Choosing The Right Mint Plant For Propagation
Now, let’s talk about choosing the right plant for propagation.
There are several varieties of mint available in the market, and understanding which one to choose is vital for successful propagation.
When selecting a mint plant, look for healthy ones with no signs of disease or pests.
Once you have selected your plant, it’s time to take cuttings and propagate them.
The best time to propagate mint is during spring when new growth appears on the plant.
To get started, take 3-4 inch cuttings from the top part of the plant using sharp scissors or pruning shears.
Remove any leaves from the bottom two inches of the cutting and dip them into rooting hormone powder before planting them in potting soil.
With proper care and attention, your propagated mint should start growing roots within a few weeks!
When To Propagate Mint
If you’re looking to propagate mint plants from cuttings, it’s important to know when the best time is to do so.
The ideal time to grow mint from cuttings is during late spring or early summer when the plant is actively growing and producing new shoots.
This will give your propagated stems the best chance of taking root and establishing themselves in their new location.
It’s also important that you choose healthy stem cuttings for propagation. Look for stems that are free of disease or pests and have several sets of leaves on them.
In the next section, we’ll dive into how to identify the best stem cuttings for propagating mint plants from cuttings.
How To Identify The Best Mint Stem Cuttings
After identifying the best stem cuttings, it’s time to propagate mint. Imagine holding a fresh cutting from your favorite mint plant, its vibrant green leaves, and sturdy stem ready to grow into a new plant.
The process of propagating mint is relatively simple and can be done in just a few steps.
First, prepare your tools and materials. You will need sharp scissors or pruning shears, a container with drainage holes, potting mix, water, and rooting hormone (optional).
It’s important to make sure your tools are clean and sterile to prevent any potential diseases from spreading to the new plants. Once you have everything ready, it’s time to start preparing the cuttings for propagation.
Preparing Your Tools And Materials
Before you start propagating mint, it’s important to prepare your tools and materials.
First, gather a sharp pair of scissors or pruners for cutting the stem, as well as potting soil that is rich in organic matter. You’ll also need small pots or containers to plant the cuttings in.
Next, choose a healthy stem from an established mint plant.
Using your scissors or pruners, make a clean cut just below where the leaves attach to the stem. Remove any lower leaves on the stem so that only a few remain at the top.
Dip the cut end into rooting hormone powder if desired before planting it firmly into moist potting soil in a container. Water thoroughly and keep it in a warm spot with bright indirect light until roots begin to form.
With these simple steps, you can easily propagate mint and add more plants to your garden or indoor space!
Don’t forget to sterilize your equipment before starting this process to avoid introducing any harmful bacteria or fungi.
Sterilizing Your Equipment
Did you know that propagating mint through cutting is one of the easiest ways to grow new plants?
In fact, according to a recent study, 85% of gardeners who tried this method successfully grew healthy and thriving mint plants.
However, proper propagation requires more than just sticking a stem into the soil. It’s important to sterilize your equipment to prevent the disease from spreading and ensure optimal growth.
To begin with, start by cleaning all tools and containers with hot water and soap.
Then, use rubbing alcohol or a solution of 9 parts water to 1 part bleach to disinfect them thoroughly.
This step is crucial as any bacteria or fungi left on your equipment can harm both your existing plant and the cuttings you want to propagate.
Also, make sure that your hands are clean before handling any cuttings or planting materials.
As you move forward in propagating mint, remember that maintaining cleanliness is key.
By taking care of the small details like sterilizing your equipment, you’re setting yourself up for success when it comes time to make the cuttings – which we’ll cover in our next section!
Making The Cuttings – Take Cuttings to the Next Level!
Now that you have gathered all the necessary materials, it’s time to make your cuttings.
Begin by selecting a healthy mint plant with at least 6 inches of growth above the soil line. Choose stems that are not flowering and avoid any that show signs of disease or damage.
Using sharp scissors or pruning shears, cut each stem just below a node – this is where leaves attach to the stem.
Make sure your cuttings are between 4-6 inches long and remove all but the top few leaves from each cutting.
Place them in water immediately after cutting to prevent wilting and add rooting hormone if desired.
Once your cuttings are ready, move on to the next step in propagating mint: growing plants from cuttings.
Preparing The Soil For Planting – Placing Your Mint The Right Way!
Preparing the soil for planting is crucial with regard to propagating mint. It may seem like a simple task, but if done incorrectly, your mint cuttings won’t thrive.
To start with, you need potting soil that has good drainage and is rich in nutrients. Choose a container that is at least 6 inches deep and fill it with potting soil until it’s about an inch from the top of the container.
Now, it’s time to transplant your mint cuttings into the prepared soil. Make sure the cutting has at least two nodes or leaves on it before placing it in the soil.
Gently remove any lower leaves from the stem and place them in the soil so that they are covered by half an inch of dirt.
Keep the soil moist but not soaking wet as this can cause root rot. With proper care and attention, your propagated mint will grow healthy and strong roots ready to be planted outside in no time!
Planting Your Mint Cuttings – Step-by-Step Tips for Your Herbs
Now that you have prepared the soil for planting, it’s time to propagate your mint.
The easiest way to do this is through cuttings.
Start by selecting healthy stems with mature leaves and no flowers.
Cut a few inches of the stem just below the node or where the leaf meets the stem.
Remove the lower leaves from the cutting so only a few pairs remain at the top.
Dip the end of your mint cutting in water then into rooting hormone powder before planting it in potting soil.
Make sure that half of the stem length is buried under the soil to allow enough space for roots to grow.
Once planted, cover with plastic wrap or a clear bag to create humidity for faster root development.
After 2-3 weeks, check if there are new growths on your cutting as an indication that roots have formed and it’s ready to be transplanted into its own container or garden bed with well-draining soil.
Now that you’ve successfully propagated your mint plants, it’s important to know how to care for them properly.
One key step is watering – ensure that your newly transplanted mint gets enough water but not too much as overwatering can lead to root rot.
Fertilizing also helps maintain healthy growth; use organic fertilizer once every two weeks during the growing season until harvest time comes around again!
Watering And Fertilizing Your New Mint Plants
Once your mint cuttings have taken root, it’s important to give them proper care in order for them to thrive.
First and foremost, make sure the soil is consistently moist but not waterlogged. Mint plants love moisture, but they don’t like their roots sitting in standing water.
To achieve this balance, water your mint regularly, being careful not to let the soil dry out completely between watering sessions.
Besides regular watering, fertilizing can also help your new mint plants grow strong and healthy. A balanced fertilizer with equal parts nitrogen, phosphorus, and potassium is a good choice for most herbs, including mint.
Apply the fertilizer every two weeks during the growing season (typically spring through early fall), following package instructions for dilution rates and application methods.
With consistent watering and fertilization, your propagated mint will soon become a flourishing plant that you can use in all sorts of culinary creations!
As your newly propagated mint begins to grow into mature plants, it’s crucial to continue providing attentive care throughout their development.
This means maintaining appropriate moisture levels while avoiding over-watering or under-watering – which could lead to droopy leaves or even root rot if left unchecked – as well as monitoring for signs of pests or disease.
In the next section, we’ll focus on some tips for caring for your mint plants as they grow so you can ensure that they remain healthy and productive long-term!
Caring For Your Mint Plants As They Grow
Now that you’ve successfully propagated your mint plant, it’s time to focus on caring for it as it grows.
First and foremost, remember that mint plants require good drainage to thrive. Make sure the soil is well-draining and avoid overwatering, which can lead to root rot.
As your mint plant grows, consider transplanting it into a larger pot or even directly into the ground if you have space in your garden. This will allow the roots to spread out and give the plant more room to grow.
Keep an eye on any signs of pests or diseases and address them promptly to prevent damage to your mint plant.
By following these simple steps, you’ll be able to watch your growing mint flourish before your eyes!
As tempting as it may be to start harvesting your mint right away, waiting until the leaves are mature will result in maximum flavor.
In the next section, we’ll dive into how and when to harvest your mint for optimal taste.
Harvesting Your Mint For Maximum Flavor
So, you’ve successfully managed to propagate your mint plant and now it’s growing like a weed. But what good is all that growth if you’re not harvesting for maximum flavor?
Don’t be the person who just lets their mint go wild without ever cutting into it. That would be like having a Ferrari in the garage but never taking it out for a spin.
As for harvesting your mint, timing is everything. The ideal time to cut back your mint plant is right before it begins to flower.
This will help ensure that your mint leaves are at peak flavor. Make sure to use sharp scissors or pruning shears when cutting into your plant, as this will prevent damage and promote healthy regrowth.
And don’t be afraid to really get in there – trimming back about two-thirds of the plant should do the trick.
Once you have harvested your mint, make sure to store it properly so that it stays fresh for as long as possible.
You can wrap your freshly-cut stems in damp paper towels and place them in an airtight container in the refrigerator for up to a week.
Alternatively, you can also freeze your harvest by chopping up the leaves and placing them in ice cube trays filled with water or oil. Then simply pop one out whenever you need some fresh mint flavor!
With these tips, you’ll be well on your way to becoming a master of maximizing the deliciousness of your homegrown herbs!
Frequently Asked Questions
Can I Propagate Mint From Seeds?
Yes, you can definitely propagate mint from seeds! It’s actually a very easy process that anyone can do.
Just grab some fresh mint seeds and plant them in soil with good drainage and plenty of sunlight. Keep the soil moist but not too wet, and within a few weeks you should start to see new seedlings sprouting up.
As they grow, be sure to thin them out so that each one has enough space to thrive. With a little patience and care, you’ll soon have your own thriving mint garden – perfect for adding fresh flavor to all kinds of dishes!
Do I Need To Use Rooting Hormone When Propagating Mint?
While rooting hormone is not necessary for propagating mint, it can certainly speed up the process and increase your chances of success.
Mint is a hardy plant that typically roots easily on its own, but using rooting hormone can provide an extra boost to encourage faster growth and stronger root development.
Whether you choose to use this tool or not, remember that successful propagation requires patience, attention to detail, and a willingness to learn from any mistakes along the way.
With these skills in hand, you’ll be well on your way to becoming a master at growing mint (and other plants) from cuttings!
How Long Does It Take For Mint Cuttings To Root?
It typically takes about 10-14 days for mint cuttings to root.
While some growers may use rooting hormone when propagating, it’s not always necessary and can depend on the type of mint being grown.
The key is to ensure that the cuttings have plenty of moisture and are kept in a warm, humid environment.
With patience and attention to detail, anyone can successfully propagate their own mint plants at home.
So if you’re looking to expand your herb garden or simply want to try your hand at propagation, give it a go!
Can I Propagate Mint In Water Instead Of Soil?
Yes, you can propagate mint in water instead of soil!
In fact, using water to propagate mint cuttings is an easy and effective method that many gardeners prefer.
Simply take a cutting from the stem of your mint plant and place it in a glass or vase filled with fresh water.
Make sure to change the water every few days and keep the container in a bright, sunny spot.
Within 1-2 weeks, you should begin to see roots forming on your cutting.
Once the roots are at least an inch long, you can transfer your new mint plant into soil for further growth.
With this simple technique, you’ll be able to expand your collection of fragrant and flavorful herbs in no time!
Can I Propagate Different Varieties Of Mint Together?
Yes, you can definitely propagate different varieties of mint together! This is a great way to create your own unique blend of flavors and aromas.
However, it’s important to keep in mind that some types of mint may grow at different rates or have slightly different care requirements.
Make sure to research each variety before planting them together and monitor their growth closely.
With a little bit of experimentation and attention, you’ll be able to master the art of propagating multiple types of mint for your garden or kitchen.
Summing Up
In conclusion, propagating mint is a simple and rewarding process that can be done by anyone. Whether you choose to use seeds or cuttings, rooting hormone, or water, the key is patience and care.
Watching your new plants grow from tiny sprouts into full-fledged herbs is a satisfying experience that will bring joy to any gardener.
So go ahead and try it out! Plant some mint in your garden today and watch as it flourishes under your loving care.
As you tend to your little patch of greenery, remember the words of Ralph Waldo Emerson: ‘The earth laughs in flowers.’ And with each fragrant leaf of mint that grows, you’ll know exactly what he meant.


Leave a Reply