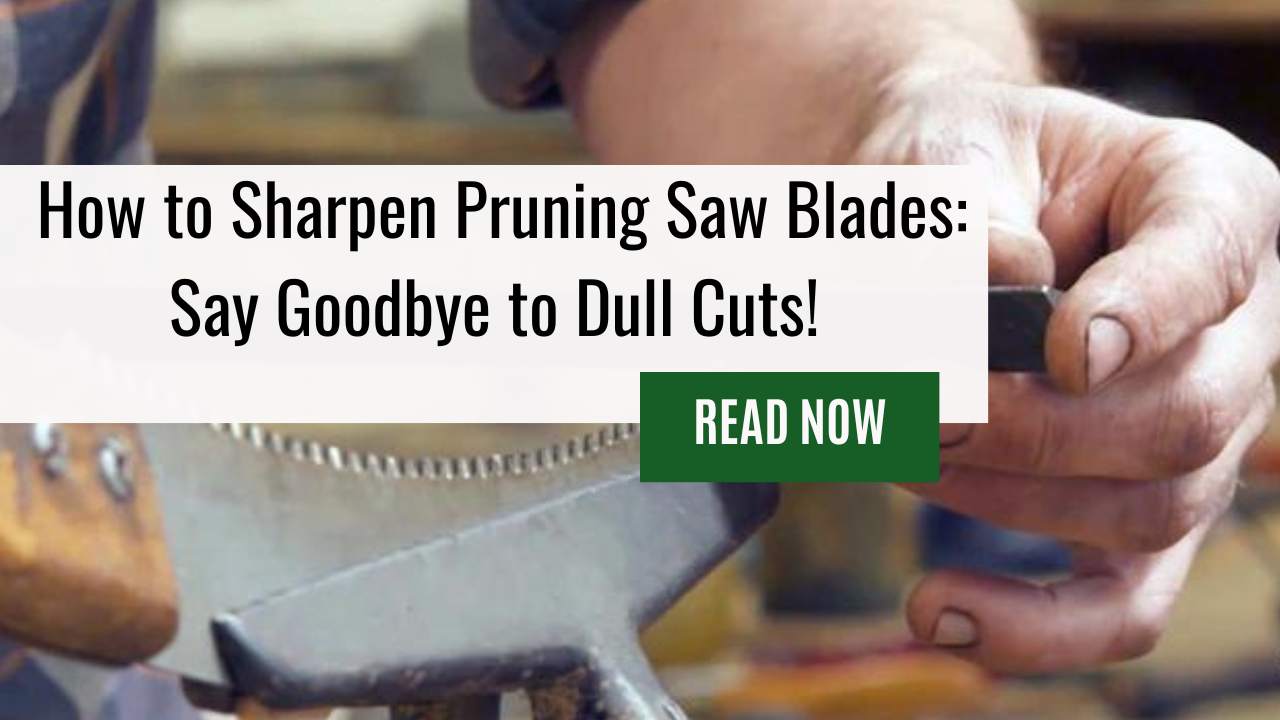
Pruning saws are an essential tool for gardeners and arborists.
However, over time, their blades can become dull due to the repeated use of tough branches and twigs. A blunt pruning saw is not only frustrating but also inefficient as it requires more effort to make a cut.
Fortunately, sharpening your pruning saw blade is an easy task that you can do at home with the right tools and techniques.
If you’re looking to improve your gardening skills or simply want to save money by maintaining your own tools, learning how to sharpen a pruning saw blade is a valuable skill to have.
Not only will it help extend the lifespan of your saw, but it’ll also ensure that every cut you make is swift and clean.
In this article, we’ll take you through the steps needed to sharpen your pruning saw blade so that you can get back to tackling those unruly bushes and trees in no time!
Understanding The Importance Of A Sharp Pruning Saw Blade
Keeping your pruning saw blade sharp is crucial for making cleaner cuts and promoting the overall health of your plants.
If you’ve ever tried to use a dull saw, you know how frustrating and time-consuming it can be.
Not only will a dull blade make the task more difficult, but it can also cause damage to the plant itself.
Sharpening your pruning saw blade may seem like an extra step in maintaining your garden tools, but it’s one that should not be overlooked.
A sharp saw blade will make quick work of even tough branches while reducing the risk of injury from slips or uneven pressure.
By taking just a little bit of time to sharpen your blades regularly, you’ll save yourself effort in the long run and enjoy healthier plants as well!
Now let’s assess the condition of your pruning saw blade.
Assessing The Condition Of Your Pruning Saw Blade – How to Know It’s Time to Sharpen a Pruning Saw
After understanding the importance of a sharp pruning saw blade, it’s time to assess the condition of your tool. Before you begin sharpening, you need to evaluate if it’s even worth the effort.
Assessing the condition is crucial as it will determine how much work needs to be done and what tools are required.
Start by inspecting your pruning saw thoroughly. Check for any visible damages, such as chipped or broken teeth on the blade or rust accumulation that can’t be removed by cleaning alone.
You should also look at where the blade is held in place; make sure there are no loose screws or bent parts that could prevent proper alignment during use.
Once you’ve determined what needs repair or replacement, move on to clean your pruning saw before proceeding with sharpening.
Gathering The Necessary Tools And Materials
Before you proceed with sharpening your pruning saw blades, it is crucial to gather the necessary tools and materials.
A sharp blade will make all the difference in pruning trees and bushes effectively, so take a moment to ensure that you have everything needed for the sharpening process.
Firstly, identify which type of pruning saw you own as different types of saws require different methods of sharpening. You may need to research online or consult with an expert if you are unsure about this.
Once identified, prepare the tools required according to your saw type.
The most common sharpening tools include flat files, round files, honing stones, and diamond-coated sharpeners. Ensure that they are clean and free from rust before use.
With these items in hand and your blade in place on your work surface, we can now move on to preparing our work area for safe usage.
Preparing Your Work Area
Now it’s time to prepare your work area.
Make sure you have a sturdy table or workbench where you can clamp the pruning saw blade onto a vise securely. This will help prevent any accidents while sharpening the blade.
And, make sure to wear hand gloves for protection.
Before starting the sharpening process, clean the pruning saw blade with a cleaning agent and use a wire brush to remove any rust or debris on the surface of the blade.
A clean and clear blade is essential for an effective sharpening process. Once the blade is cleaned and ready, proceed to disassemble it from its handle using the appropriate tools.
In doing so, take note of how each part fits together as this will be important when putting it back together later on.
Disassembling The Pruning Saw Blade
To sharpen pruning saw blades, disassembling the blade is necessary. Start by removing the blade from its handle and placing it on a sturdy surface. Use caution during this process as the teeth of the saw can be sharp.
Next, take out your sharpening rod and hold it at a 20-degree angle against each tooth of the saw. Make sure to apply even pressure while moving in only one direction to prevent any damage to the teeth or blade.
Once you have finished sharpening all of the teeth, reassemble the blade back into its handle for use. Remember to also clean both sides of the blade with a cleaning agent before using it again.
Transitioning into cleaning the blade section:
Keeping your pruning saw clean is essential in maintaining its longevity and effectiveness.
Cleaning The Blade
Now it’s time to get down to business and sharpen those dull teeth.
You may be thinking ‘Sharpening?
That sounds like a lot of work!’ But fear not, my fellow gardening enthusiasts. With just a little bit of elbow grease and some know-how, you’ll have your pruning saw cutting through branches like butter in no time.
Before we begin sharpening the blade, it is imperative that we first clean off any debris or sap left on the surface from our previous use.
Take a soft cloth and wipe the blade thoroughly, making sure to remove any dirt or grime that may have accumulated over time.
Once your blade has been tidied up, examine each individual tooth carefully for signs of wear and tear.
If there are any chips or nicks present, make sure to file them down before proceeding with the actual sharpening process.
Filing The Teeth – Know the Different Types of Pruning Saws Beforehand!
Now it is time to sharpen the teeth. The first step in this process is filing the teeth.
Before we dive into the technique for filing, let’s quickly discuss the different types of pruning saws and their unique tooth patterns.
There are two main types of pruning saws: curved and straight. Curved saws are best suited for cutting branches above shoulder height while straight saws are ideal for cutting at waist level or below.
Both types of saws feature teeth that are designed to cut on both forward and backward strokes. To maintain an effective cutting edge, it is important to file across each tooth evenly during the sharpening process.
As you begin filing the teeth of the saw, keep in mind that consistency is key.
Use a smooth back-and-forth motion while applying even pressure with each stroke. Make sure to file all of the teeth on one side before moving to the next side.
Once you have finished filing all of the teeth, use a flat mill bastard file at a 90-degree angle to ensure proper tooth alignment.
Checking for proper tooth alignment will guarantee optimal performance when using your newly sharpened pruning saw!
Checking For Proper Tooth Alignment
One study found that misaligned teeth can result in up to 30% more damage than a properly aligned saw. That’s why it’s crucial to check for proper tooth alignment before moving forward with the sharpening process.
To begin, take a close look at the teeth of the saw and make sure they are all facing the same direction. You’ll also want to inspect each tooth for any chips or cracks that may need repair.
Next, examine the groove between two teeth – this should be centered and straight. If not, use a small file to even out the groove until it is perfectly aligned with the others.
By taking these steps, you’ll ensure that every tooth has an equal chance of making clean cuts through branches and stems, resulting in healthier plants overall.
Now it’s time to move on to the next step…
Reassembling The Pruning Saw Blade
Now that you’ve successfully sharpened your pruning saw blade, it’s time to reassemble it.
First things first, make sure you’re wearing gloves before handling the sharp blade. Then, take the freshly sharpened blade and carefully slide it back into its slot on the handle.
Make sure the teeth are facing in the right direction (towards the front of the saw) and that they aren’t rubbing against anything as you insert them.
Once the blade is securely in place, tighten any screws or bolts that were loosened during disassembly.
Now your pruning saw is ready for action! But remember, even a newly-sharpened blade won’t stay sharp forever.
You may need to repeat the sharpening process periodically depending on how frequently you use your tool and what type of materials you’re cutting through.
Keep a sharpening rod handy so you can touch up your blade when needed.
Testing The Sharpness Of Your Pruning Saw Blade Like a Pro – Test Before You Use a Pruning Saw!
Did you know that a dull pruning saw blade can make your job 30% harder?
It’s true! A sharp pruning saw makes all the difference in terms of efficiency and ease of use.
Once you’ve completed the sharpening process, it’s important to test the sharpness of your pruning saw blade before getting back to work.
To test the sharpness, take a piece of paper or cardboard and gently try to cut through it with your newly sharpened pruning saw blade.
If the teeth of the saw glide easily through the material without any resistance or tearing, then congratulations! Your pruning saw is now properly sharpened and ready for action.
However, if you encounter any snagging or shredding while cutting, then there may still be some areas of the blade that need attention.
Don’t hesitate to go back over those spots until they are just as smooth and efficient as the rest of the blade.
Maintaining Your Pruning Saw Blade For Longevity
To keep your pruning saw blade sharp and effective, regular maintenance is key. One of the most important steps in maintaining a pruning saw blade is sharpening it regularly.
There are different types of pruning saws, each requiring slightly different methods of sharpening. For example, curved blades may require more attention to detail than straight ones.
To properly sharpen a pruning saw blade, you’ll need a sharpening rod or file that’s designed specifically for this task.
The blade is held securely while you run the rod along its edges at the appropriate angle. This process should be done carefully and slowly to ensure that each tooth on the blade gets an even amount of attention.
With frequent maintenance like this, your pruning saw will last much longer and perform better overall.
Now let’s move on to the next section…
Troubleshooting Common Sharpening Issues
Sharpening pruning saw blades is an essential skill for any gardener or landscaper.
However, even with the proper technique and tools, sharpening issues can arise that prevent you from achieving a sharp edge on your saw blade.
Here are some common troubleshooting tips to help you overcome these obstacles and achieve optimal results.
One of the most common sharpening issues is uneven teeth. This occurs when one or more teeth become dull faster than the others or if they have been damaged in some way.
To fix this issue, start by inspecting each tooth individually and identifying which ones need work. You can then use a flat file to gently remove any burrs or nicks on the blade’s surface before moving on the teeth themselves.
Use long strokes while maintaining consistent pressure to ensure that all teeth are filed evenly, resulting in a clean and uniform edge across the entire length of the blade.
Remember to always wear protective gloves and eye gear while working on your saw blade to avoid injury as well!
Frequently Asked Questions
How Often Should I Sharpen My Pruning Saw Blade?
Let’s say you’re someone who loves to spend their weekends in the garden, carefully pruning away at your shrubs and trees.
You’ve invested in a good quality pruning saw blade and want to make sure it lasts for as long as possible.
So, how often should you sharpen it?
Well, it really depends on how frequently you use it and what kind of material you are cutting through.
If you find yourself using your pruning saw regularly throughout the week, then perhaps sharpening once every few months may be necessary.
However, if you only use it occasionally or mainly for light-duty tasks like trimming small branches, then sharpening once or twice a year could suffice.
The key is to pay attention to how smoothly the blade cuts through the wood – if it starts feeling dull or takes longer than usual to slice through a branch, that’s when it’s time for some maintenance work!
Can I Sharpen A Rusty Pruning Saw Blade?
Yes, you absolutely can sharpen a rusty pruning saw blade! Don’t let that rust discourage you from trying to restore your tool’s cutting power.
Rusty blades are often the result of improper storage or frequent exposure to moisture but fear not – with a few simple steps and some elbow grease, you’ll be able to bring that blade back to life in no time.
Just make sure you have the right tools on hand and take care during the process so as not to damage the blade further.
With practice, you’ll soon become an expert at keeping your pruning saw in top condition for every outdoor project.
What Is The Best Type Of File To Use For Sharpening A Pruning Saw Blade?
To get the best results when sharpening your pruning saw blade, it’s important to use the right type of file.
The most effective option is a triangular-shaped file that has been specifically designed for saw teeth.
This will allow you to hone each tooth so that it can slice through wood with ease.
So if you’re ready to take on the challenge of honing your own tools and achieving mastery over your craft, make sure you have the right equipment at hand!
How Do I Know If My Pruning Saw Blade Is Beyond Repair And Needs To Be Replaced?
If you’re wondering whether your pruning saw blade is beyond repair and needs to be replaced, there are a few signs to look out for.
Firstly, if the teeth on the blade have become dull and worn down over time, it may not be possible to sharpen them back to their original shape.
Also, if the blade has been damaged or bent during use, it could compromise its effectiveness and make it unsafe to use.
However, before jumping to replace your pruning saw blade, it’s always worth trying to sharpen it first using the right type of file.
With some patience and practice, you can extend the life of your tool and continue achieving great results in your gardening endeavors.
Can I Use A Power Tool To Sharpen My Pruning Saw Blade, Or Is Hand Filing The Only Option?
While both methods can be effective, it ultimately depends on personal preference and experience.
Hand filing allows for more control and precision, but can also take longer.
Power tools such as grinders or rotary tools are faster but require caution to avoid removing too much material from the blade.
Whichever method you choose, make sure to follow proper safety protocols and regularly inspect your saw blades for any signs of damage or wear beyond repair.
With practice and patience, you’ll soon become a master at keeping your pruning saws sharp and ready for any gardening task.
Summing Up
In conclusion, keeping your pruning saw blade sharp is crucial to ensuring its effectiveness and longevity.
By regularly sharpening your pruning saw blade with the appropriate file, you can improve its cutting power and make it easier to use.
However, don’t wait too long before sharpening it as a dull or damaged blade could result in injury or damage to plants.
So, whether you choose to hand-file or use a power tool for sharpening your pruning saw blade, remember that prevention is always better than cure.
Don’t wait until your blade is beyond repair before replacing it; keep an eye on signs of wear and tear such as uneven teeth or cracks in the blade.
With proper care and maintenance, your pruning saw will continue to serve you well for years ahead.


Leave a Reply