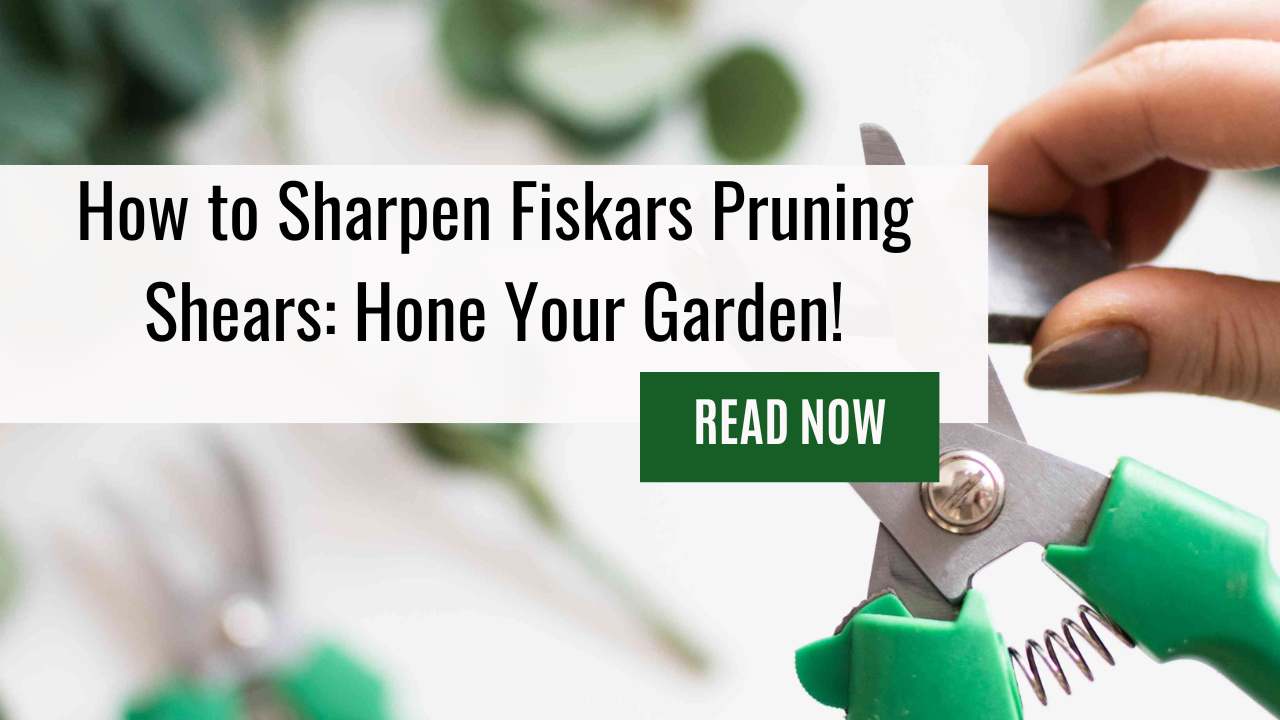
Pruning shears are essential tools for any gardener, and Fiskars is a trusted brand known for producing high-quality ones.
However, even the best pruning shears can become dull with time and use.
Learning how to sharpen your Fiskars pruning shears will not only save you money in the long run but also ensure that your plants receive clean cuts that promote healthy growth.
Sharpening Fiskars pruning shears may seem intimidating at first, but with the right technique and tools, anyone can do it successfully.
By mastering this skill, you’ll be able to keep your pruning shears sharp and ready to tackle any garden task.
In this article, we’ll cover everything you need to know about sharpening Fiskars pruning shears so that you can take control of your gardening game and achieve mastery over one of the most crucial tools in your arsenal!
Understanding The Importance Of Sharp Pruning Shears for Garden Needs
As gardeners, we all know that pruning shears are a vital tool in maintaining the health and appearance of our plants.
However, keeping them at their best can be challenging without proper care and maintenance, especially with regard to sharpening them.
Knowing how to sharpen Fiskars pruning shears is essential for any gardener who wants to ensure optimal performance from this critical gardening tool.
Pruning shears are like knives; they need regular cleaning and sharpening to maintain their sharpness. Blunt or dull blades not only make pruning difficult but also cause damage to your plants by leaving ragged cuts on stems or branches.
By taking the time to clean and sharpen your pruning shears regularly, you’ll save yourself both time and effort while achieving better results with every cut.
So let’s explore why having sharp pruning shears is so important before moving onto preparing your work area for this task.
Preparing Your Work Area
Before you start sharpening your Fiskars pruning shears, it’s important to prepare your work area.
This will not only help keep the process organized but also ensure that you can do the job safely and efficiently.
The first step is to gather all the necessary materials such as a clean rag, sharpening stone or file, lubricant, and safety glasses.
Make sure that your work area is well-lit and free from distractions.
It’s also advisable to lay down some newspaper or an old cloth on your work surface to catch any debris that may come off of your garden tools during the cleaning and sharpening process.
Check for rust on your pruning shears before proceeding with the next section about how to clean and sharpen them properly.
Gathering The Necessary Materials to Clean and Sharpen Pruning Shears
To begin the process of sharpening your Fiskars pruning shears, you will need a few essential items.
The first item on the list is a sharpening tool designed for use with garden tools like pruning shears. You can find these tools at any hardware store or online retailer.
Next, gather your Fiskars pruning shears and inspect them to make sure they are clean and free from dirt and debris.
Once you have gathered all the necessary materials, it’s time to move on to the next step: cleaning and sharpening your Fiskars pruning shears.
To do this, start by using a diamond file to remove any nicks or burrs that may be present on the blades.
Next, take each blade individually and run the diamond file along its edge several times until it is sharp.
Make sure to keep your strokes consistent and even while doing so.
With your pruning shears now sharpened, it’s time to disassemble them in order to get ready for the final stage of maintenance – lubrication!
Disassembling Your Fiskars Pruning Shears – Essential Step of How to Sharpen Fiskars Pruning Shears!
Now, it’s time to disassemble your Fiskars pruning shears.
This is an essential step in the process because it allows you to clean and maintain each component of the pruner properly. Disassembling also makes sharpening easier as you can see every part of the blade.
To begin, open your pruning shear and take note of how it is assembled. You may want to take a photo or video for reference later on when putting it back together.
Next, locate the bolt holding the two blades together at the hinge point.
Use Phillip’s head screwdriver or pliers to loosen and remove this bolt carefully.
Be sure not to lose any components such as washers or springs that might fall out during this process.
Once done, gently separate both blades by pulling them apart from either end starting with the one nearest the pivot point.
Assessing the Condition of Your Pruning Shears at Home
Before you start sharpening your Fiskars pruning shears, it’s important to assess their current condition.
Take a close look at both blades and check for any signs of rust or damage. If there is significant rust buildup or if the blade has chips or nicks, then it may be time to replace the pruner altogether.
If your pruning shear is in decent shape but just needs some TLC, then proceed with sharpening. However, before beginning this process, take note of whether the two blades are still aligned properly.
If they aren’t meeting squarely when closed, then you’ll need to realign them first; otherwise, your efforts will be fruitless.
By taking these initial steps to evaluate your tool, you can ensure that you’re focusing on what really matters – restoring its functionality and longevity.
Next up: selecting the right sharpening tool…
Selecting The Right Sharpening Tool: Diamond File, Steel Wool & Sharpening Stone
To effectively sharpen your Fiskars pruning shears, it’s crucial to select the right sharpening tool.
There are a few different options available, each with its own advantages and disadvantages.
One option is a diamond file. This type of sharpener uses small diamond particles embedded in the surface to grind away at the blade of your shears, creating a sharper edge.
Another option is steel wool, which can be used for minor touch-ups between more thorough sharpenings.
Finally, there’s the traditional sharpening stone, which requires some skill and practice but can produce extremely sharp results when done correctly.
Consider your own experience level and desired outcome when selecting a tool for sharpening your shears.
Beginning the Process of Sharpening Garden Shears
Now that you have gathered all the necessary materials, it’s time to begin sharpening your Fiskars pruning shears.
First, take a close look at the blades of your pruning shear and determine which side is dull. Typically, only one side will need to be sharpened since the other side has a beveled edge.
Once you’ve identified the dull blade, use your chosen sharpening tool to start honing its edge.
It’s important to maintain a consistent angle while sharpening – around 30 degrees should do the trick in most cases.
Keep a light pressure on the blade as you move your sharpening tool across it, making sure not to overdo it or apply too much force along any single area.
Once you’re done with this step, flip over the pruning shear and repeat on the other side.
Sharpening the Blades of the Pruner
To sharpen Fiskars pruning shears, the first step is to focus on the blades. The blade is the most important part of a pruning shear and it needs to be razor-sharp for effective cutting.
Start by examining the blade carefully and identifying any nicks or dull edges that need attention.
To sharpen the blade, you will need to use a sharpening stone or file. Hold the tool at an angle against the beveled edge of the blade and make sure you move it in one direction only.
Use a consistent stroke with moderate pressure until you have achieved your desired sharpness level.
Repeat this process on both sides of each blade until they are evenly sharpened.
Once you finish sharpening, test your pruning shears to ensure their effectiveness before moving on to polishing them.
Polishing the Blades – The Step Following Sharpening Pruning Shears at Home!
Now that you have sharpened the blades of your Fiskars pruning shears, it’s time to give them a polished finish.
This step is important as it helps remove any burrs or rough edges left from the sharpening process and protects the steel from rust.
To polish the blade, take a piece of fine-grade steel wool and gently rub it along both sides of the blade until you achieve a smooth surface.
Be sure not to apply too much pressure as this can scratch or damage the blade.
Once you are satisfied with the level of polishing, wipe down the blade with a clean cloth to remove any debris or residue left by the steel wool.
Congratulations! You now have well-sharpened and polished pruning shears ready for use in your garden.
As we near completion of maintaining our pruning shears, reassembling them is next on our list.
Reassembling Your Pruning Shears
Ah, the sweet sound of success! You have now expertly sharpened your Fiskars pruning shears and are ready to reassemble them.
It’s almost as if you’ve become a master gardener overnight! But don’t get too cocky yet – there is still some work to be done.
First, make sure the blade is positioned correctly before putting it back into place.
Hold the pruner with one hand while using your other hand to guide the blade into its slot.
Once it clicks into place, tighten any screws or bolts that were removed during disassembly.
Double-check that everything is secure and in proper working order before moving on to testing your newly sharpened Fiskars pruning shears.
Testing Your Newly Sharpened Fiskars Pruning Shears
Now that you have successfully assembled your pruning shears, it’s time to sharpen them.
Sharpening your Fiskars pruning shears is a crucial step in maintaining their long-term performance and ensuring they make clean cuts every time.
A dull blade not only makes the job harder but can also damage plants, making them more susceptible to diseases.
To sharpen your pruning shear blade, start by cleaning it with warm soapy water and drying it thoroughly.
Then, using a sharpening stone or file, hold the blade at an angle of 20 degrees and gently run the sharpener along its edge several times until you see a shiny surface.
Be sure to follow the original bevel angle on both sides of the blade for the best results.
Once done, wipe away any debris before testing the sharpness by making a few test cuts on some branches or leaves.
If they cut cleanly without tearing, then congratulations! Your pruning shears are now ready for use on all your garden tools.
Maintaining Your Fiskars Pruning Shears for Optimal Performance – It’s a Must to Clean and Lubricate!
Now that you know how to sharpen your Fiskars pruning shears, it’s essential to keep them in good condition.
You should clean and lubricate the blades regularly. This helps prevent rusting and keeps the blade sharp.
To clean the pruner, wipe off any dirt or debris with a soft cloth. If there is sap on the blade, use rubbing alcohol to remove it.
After cleaning, apply a few drops of oil to each side of the blade. Use a light machine oil or vegetable oil if you don’t have specialized pruning shear oil.
Be sure to wipe away any excess oil before using the tool again. By following these steps, you can keep your pruning shears sharp and functioning well for years!
Frequently Asked Questions
Can I Use Any Type Of Sharpening Tool To Sharpen My Fiskars Pruning Shears?
Well, the answer is not quite straightforward.
While there are different types of sharpeners out there, you need to be careful which one you choose because not all sharpeners are created equal.
In fact, using the wrong sharpener could damage your shears and render them useless.
So it’s best to stick with a sharpener that’s specifically designed for gardening tools like pruning shears.
That way, you can ensure that your Fiskars pruning shears get the care they deserve and remain in top-notch condition for years ahead!
How Often Should I Sharpen My Pruning Shears?
The answer depends on how much you use them – if you’re a serious gardener who spends hours tending to their plants every day, then sharpening once every month or two is probably necessary.
However, if you only use them occasionally for light trimming, then once or twice a year should suffice.
Remember that sharp shears not only make pruning easier but also promote healthier growth by making clean cuts that heal quickly.
So don’t neglect this crucial maintenance task!
Can I Sharpen My Pruning Shears If They Have Rust On Them?
Yes, you can sharpen your pruning shears even if they have rust on them! Rust is a common problem that gardeners face with their pruning tools.
It may seem challenging to tackle the issue of rust about sharpening your pruning shears, but fear not – there are simple solutions to this problem.
The first step is to remove as much rust as possible using steel wool or sandpaper. Once the rust has been removed, you can proceed with sharpening your pruning shears like normal.
Don’t let rusty shears hold you back from achieving beautifully pruned plants – take action and get those shears looking brand new again!
How Can I Prevent My Pruning Shears From Getting Dull Quickly?
Preventing your pruning shears from getting dull quickly is not only important for maintaining their effectiveness but also saves you the hassle of having to sharpen them frequently.
One way to achieve this is by cleaning and oiling them regularly after use.
Besides, avoid using your shears on hard materials like wire or thick branches as they can cause damage to the blades.
In fact, a simple trick to test if your blades are sharp enough is by cutting through a piece of paper with ease.
By taking these steps, you’ll be able to extend the lifespan of your pruning shears while ensuring that they remain in top-notch condition for all your gardening needs.
Is It Necessary To Disassemble My Pruning Shears Before Sharpening Them?
Before sharpening your pruning shears, you may be wondering: is it necessary to disassemble them first?
The answer depends on the type of pruning shears you have. For some models, such as Fiskars pruning shears, disassembling them can make the sharpening process easier and more effective.
However, for other types of pruning shears, disassembly may not be necessary or even possible.
If you’re unsure about whether to take apart your pruning shears before sharpening them, consult the manufacturer’s instructions or a gardening expert for guidance.
Remember that proper maintenance and care will ensure that your tools last longer and perform better in the garden!
Summing Up
In conclusion, keeping your Fiskars pruning shears sharp is crucial for a successful and efficient gardening experience.
While any sharpening tool may seem like it can get the job done, it’s important to use the appropriate tools to ensure that you don’t damage your shears further.
Remember to regularly inspect your shears for rust and take preventative measures such as wiping them down after each use.
By taking good care of your pruning shears, they will last longer and provide better results in all of your gardening efforts.
As the saying goes, ‘a well-sharpened blade makes light work,’ so invest some time into properly sharpening and maintaining your pruning shears for optimal success.


Leave a Reply