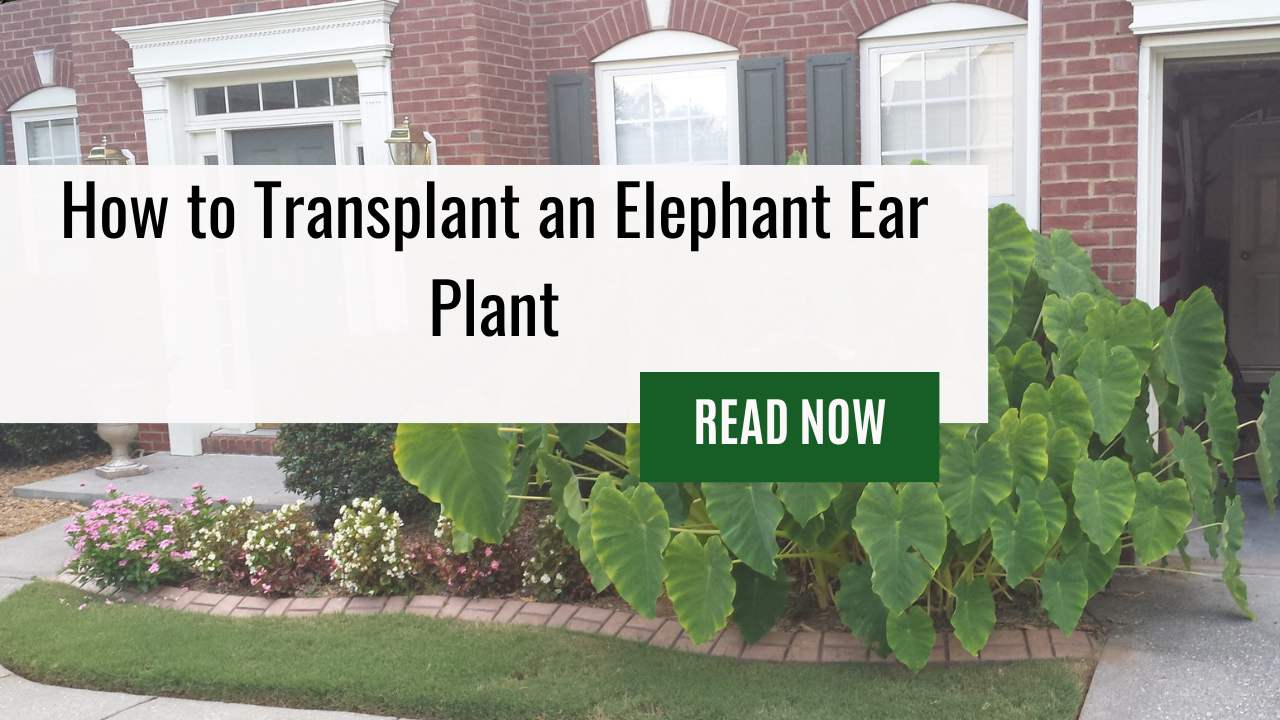
Are you looking to add a touch of tropical beauty to your home or garden?
An elephant ear plant may be just what you need. These large-leaved plants are known for their striking appearance and can add an exotic flair to any space.
However, if you’re considering adding one of these beauties to your collection, it’s important to know how to transplant them properly.
Transplanting an elephant ear plant can seem intimidating at first, but with the right guidance and tools, it can be a simple process that yields beautiful results.
In this article, we’ll provide step-by-step instructions on how to successfully transplant an elephant ear plant so that you can confidently care for your new addition.
Whether you’re a seasoned gardener or just starting out with indoor plants, our guide will help you master the art of transplanting elephant ears and keep them thriving in their new environment.
Understanding Your Elephant Ear Plant
Have you ever wanted to add a touch of tropical flair to your garden?
Look no further than the elephant ear plant! With its large, striking leaves and unique bulbous appearance, this plant is sure to make a statement in any outdoor space.
But before we dive into the process of transplanting this beauty, let’s get to know it a little better.
The elephant ear plant, also known as Colocasia esculenta, is native to Southeast Asia but has become popular worldwide due to its stunning appearance and hardiness.
This perennial herbaceous plant can grow up to six feet tall with leaves that range from green to deep purple.
The bulb of the parent plant stores nutrients for growth and reproduction, making it an ideal candidate for transplantation.
Now that we understand the basics of our elephant ear plant friend, it’s time to move on to choosing the right time for transplantation.
Choosing The Right Time To Transplant Elephant Ear
Now that you understand the basics of your elephant ear plant, it’s time to talk about how to transplant it.
Transplanting an elephant ear plant involves carefully removing the bulb from its current soil and transferring it to a new location. This process can be done either indoors or outdoors, depending on the season and climate.
Choosing the right time to transplant is crucial for the success of your elephant ear plant.
The best time to transplant is during the growing season when the plant is actively growing. Typically, this falls between late spring and early summer.
Also, make sure that your plant has been in its current location for at least two years before attempting to transplant it.
Doing so will ensure that the root system has had enough time to establish itself and become hardy enough for transplantation.
Next up: selecting the right container!
Selecting The Right Container
Now that you’ve decided to transplant your elephant ear plant, it’s important to choose the right container.
The size of the container should be slightly larger than the current pot so that there’s enough room for growth but not too large to drown out the roots in excess soil.
If you’re planning on keeping your plant indoors, a decorative pot may be ideal, while an unglazed ceramic or plastic pot is recommended if you plan on placing it outdoors.
Ensure that your chosen container has sufficient drainage holes at the bottom to prevent water from stagnating and causing root rot.
When filling up your new container with potting soil, use a high-quality mixture that will provide good drainage and moisture retention.
It’s essential to keep in mind that Elephant ears prefer moist but well-drained soil, so do not use garden soil or sand when planting them in pots.
As we move on to preparing the soil section, remember to select a suitable location with proper lighting before proceeding with this step.
With these tips in mind, let’s continue our journey toward successfully transplanting your elephant ear plant!
Preparing The Soil For Actively Growing Elephant Ears
Now that you’ve selected the perfect location for your elephant ear plant, it’s time to prepare the soil.
Elephant ears prefer well-draining soil with plenty of organic matter. If your garden has heavy clay soil, mix in some compost or sand to improve drainage.
Conversely, if your soil is sandy and drains too quickly, add organic material like leaf mold or peat moss to help retain moisture.
Before planting, remove any weeds or debris from the area and loosen the top layer of soil. You want to create a nice bed for your bulbs so they can establish roots easily.
And, elephant ear plants thrive in slightly acidic soil with a pH between 5.5 and 6.5. Use a pH tester kit available at most garden centers to determine your soil’s acidity level before planting.
With these preparations complete, you’re ready to move on to planting your bulbs!
Now that you have prepared the ideal environment for transplanting your beloved elephant ear plant, let’s take one more step towards ensuring its success by watering it prior to transplantation.
This will help reduce stress on the plant during transportation and allow it to acclimate more comfortably once placed into its new home.
Make sure not to overwater as this can lead to root rot – just enough water so the roots are moist but not waterlogged should suffice.
Once properly hydrated, we’ll move on to our next step: uprooting and transplanting the elephant ear!
Watering Your Plant Prior To Transplanting
Before transplanting your elephant ear plant, it is important to ensure that the soil is moist. This will make it easier for you to remove the plant from its current container without causing too much stress on the roots.
Watering the soil prior to transplanting also helps prevent any damage that may occur during the process.
When watering your plant before transplanting, be sure not to overdo it. Overwatering can lead to root rot and other issues that can harm your actively growing foliage.
Instead, water the soil until it is damp but not soaking wet. This will provide enough moisture for your elephant ear plant while allowing excess water to drain away easily.
With a well-watered plant, you are now ready to move on carefully removing your plant from its current container.
Carefully Removing Your Plant From Its Current Container – Crucial Step of How to Transplant an Elephant Ear Plant
Now that you have gathered all the necessary materials, it’s time to carefully remove your elephant ear plant from its current container.
Start by gently lifting the entire plant out of its pot, being careful not to damage any leaves or roots in the process. If the plant is stuck, use a trowel or your hands to loosen the soil around the edges of the container.
Once you have lifted the plant out of its current container, examine the root system for any signs of disease or rot. This step will help ensure that your new planting location provides optimal conditions for healthy growth.
But before we get into examining those roots, let’s first focus on how to properly lift and transport your precious elephant ear plant!
Examining The Roots
Now that you have carefully removed your elephant ear plant from its previous container, it’s time to examine the roots.
The root ball is the most crucial part of any transplanting process, and taking care while examining them will ensure that your plant stays healthy for years ahead.
Firstly, dig carefully around the root ball with a trowel or fork, being mindful not to cut into any of the roots.
Once you’ve lifted the plant out of its old home, take a moment to observe how dense the roots are and whether they’re bound tightly together.
If so, use your fingers or a knife to loosen them gently before transplanting.
It’s also important to check for any signs of damage or disease on the roots; if you notice brown spots or rotting areas, trim those sections off with sterilized pruning shears before replanting.
By closely examining the roots in this way, you’ll be able to give your elephant ear plant a fresh start in its new container.
As you finish checking over your plant’s root system, it’s now time for placing it within its new container.
Placing Your Plant In The New Container
Now that you have successfully transplanted your elephant ear plant, it’s time to place it in its new container.
Make sure the chosen container is clean and has drainage holes at the bottom. A container that is slightly larger than the previous one will be ideal for accommodating the growing season of your plant.
Gently remove the plant from its temporary container and loosen up any tangled roots before placing it into the new pot.
Fill in with soil around the edges of the root ball until it reaches about an inch below the rim of the container. Pat down on the soil gently to ensure there are no air pockets left behind.
Don’t forget to water your newly planted elephant ear thoroughly! In order to keep your plant healthy, avoid overwatering by allowing the top layer of soil to dry out first before watering again.
Now that your plant is settled into its new home, let’s move on to filling it up with some fresh soil for optimal growth!
Filling The Container With Soil
Now, it’s time to fill the container with soil. Before doing so, make sure that the container has drainage holes at the bottom. This is crucial in preventing water from accumulating and causing root rot.
Start by adding a layer of potting mix at the bottom of the container.
Make sure to use fresh soil that is nutrient-rich and well-draining. Fill about one-third of the container with soil, then place your transplanted plant on top of it.
Gently spread out the roots and add more soil around them until they are covered completely up to where they were previously planted.
Firmly press down on the soil to remove any air pockets and provide stability for your newly transplanted elephant ear plant.
As you move forward in caring for your new transplant, watering will be an essential part of ensuring its health and growth.
To learn more about how to properly water your transplanted plant, continue reading the next section below!
Watering Your Transplanted Plant
Now that you have successfully transplanted your elephant ear plant, it’s important to ensure its continued growth and health by properly watering it.
The first step in this process is to thoroughly water the soil immediately after transplanting. This will help settle the soil around the roots and provide the necessary moisture for the plant as it adjusts to its new environment.
After the initial watering, be sure to monitor the moisture level of the soil regularly. Elephant ear plants prefer consistently moist soil, but overwatering can lead to root rot and other issues.
A good rule of thumb is to check the soil about once a week or whenever the top inch feels dry to the touch.
When watering, aim for a slow and steady stream that allows the water to penetrate deeply into the soil rather than just wetting the surface.
With proper watering techniques, your transplanted elephant ear plant should thrive in its new location!
As important as proper watering is for your transplanted elephant ear plant, there are also other key elements involved in providing adequate care after transplantation.
By focusing on factors such as light exposure and fertilization, you can ensure that your newly transplanted plant has everything it needs to continue growing strong and healthy.
Providing Proper Care After Transplanting
Now that you’ve successfully transplanted your beloved elephant ear plant, it’s important to provide proper care in order for it to thrive.
Remember, just like any living organism, the plant needs a nurturing environment to grow and flourish.
The first step is to ensure that the plant receives adequate water during its growing season. During this time, the elephant ear requires regular watering as well as fertilizers to promote healthy growth.
It’s also beneficial to place the plant in an area with full sun exposure, allowing it to absorb necessary nutrients from the soil.
By following these simple guidelines, you’ll be able to watch your newly transplanted elephant ear bloom into a beautiful addition to your garden.
But what if something goes wrong? Don’t worry – we have some troubleshooting tips coming up next!
Troubleshooting Common Issues After Transplanting
Transplanting an elephant ear plant can be an exhausting task, but with the right care and attention, it is possible to achieve new growth and success.
After transplanting your elephant ear plant, it’s important to monitor its progress closely. One common issue that may arise after transplanting is wilting or drooping of the leaves.
This could indicate that the plant is not receiving enough water or sunlight, so make sure to adjust accordingly.
Another potential problem is shock from being uprooted and moved to a new location. To minimize this risk, try to keep as much soil around the roots as possible during transplantation.
Besides, choose a spot for your elephant ear plant that meets its hardiness zone requirements and provides adequate drainage in the soil.
With patience and proper care, you should soon see new growth sprouting from your transplanted elephant ear plant!
Frequently Asked Questions
How Long Does It Take For An Elephant Ear Plant To Recover After Transplanting?
Imagine you are the elephant ear plant. You have been uprooted from your comfortable spot and placed in a new environment.
It’s like being thrown into an entirely different world! But fear not, my dear friend, for although it may take some time to adjust, you will recover just fine.
In fact, after about two weeks of proper care and watering, you’ll start to see new growth sprouting from your roots.
So don’t worry too much about how long it takes to recover – focus on nurturing yourself with love and attention as you settle into your new home.
Can An Elephant Ear Plant Survive In Full Sun After Being Transplanted?
After transplanting your elephant ear plant, you may be wondering if it can survive in full sun. The answer is yes! These plants are hardy and adaptable, capable of thriving in a variety of conditions.
However, it’s important to note that they do best with partial shade or filtered sunlight.
If you’re planning on placing your elephant ear plant in an area with full sun exposure, make sure to monitor its water intake closely and keep the soil moist.
With proper care and attention, your transplanted elephant ear will continue to grow beautifully even in full sun!
How Often Should I Fertilize My Transplanted Elephant Ear Plant?
If you’ve successfully transplanted an elephant ear plant, congratulations! Now comes the important part: fertilization.
You might be wondering how often you should feed your newly transplanted plant to ensure it thrives in its new environment.
Some may argue that too much fertilizer can harm the plant, but fear not – as long as you follow proper guidelines and use a balanced NPK (nitrogen, phosphorus, potassium) ratio, your elephant ear will grow healthy and strong.
Generally speaking, aim for fertilizing every 4-6 weeks during the growing season (spring through early fall), and reduce frequency during dormant periods.
Keep in mind that factors such as soil quality and sun exposure also play a role in determining how frequently to fertilize.
With some patience and careful attention to detail, your elephant ear will flourish under your care!
Is It Possible To Propagate An Elephant Ear Plant During The Transplanting Process?
Yes, it is possible to propagate an elephant ear plant during the transplanting process.
In fact, this can be a great opportunity to expand your collection of these gorgeous plants without having to go through the trouble of starting from scratch.
The key is to carefully divide the rhizomes (underground stems) into smaller segments and replant them in their new location with plenty of room for growth.
With proper care and attention, you’ll soon have multiple thriving elephant ear plants that will add beauty and intrigue to any indoor or outdoor space.
So why not take advantage of this exciting prospect and try propagating your own elephant ear plant during your next transplant?
What Is The Best Way To Protect My Transplanted Elephant Ear Plant From Pests And Diseases?
Protecting your transplanted elephant ear plant from pests and diseases is crucial for its survival.
It’s essential to regularly inspect the leaves, stems, and soil to ensure that no harmful insects or fungi are present.
Taking proactive measures like using natural insecticides or fungicides can save you a lot of time and effort down the road by preventing problems before they occur.
With a little bit of care and attention, you can help your elephant ear plant thrive in its new home while mastering the art of gardening along the way.
Summing Up
In conclusion, transplanting an elephant ear plant requires careful consideration and attention to detail.
It is important to give the plant time to recover after being transplanted, usually around 2-3 weeks.
When placing it in its new location, make sure to choose a spot that has partial or full shade as too much sun can be damaging.
To ensure the health and growth of your transplanted elephant ear plant, fertilize it regularly with a balanced fertilizer.
Moreover, take precautions against pests and diseases by monitoring for any signs of infestation and using natural remedies if necessary.
With proper care and maintenance, your transplanted elephant ear plant will thrive in its new home.


Leave a Reply